
'/%3e%3cpath%20d='M4.94162%205.99547L4.02701%205.08086L3.63428%205.47359L4.94162%206.78093L7.63768%204.08487L7.24495%203.69214L4.94162%205.99547Z'%20fill='white'/%3e%3cdefs%3e%3clinearGradient%20id='paint0_linear_2302_10195'%20x1='0.5'%20y1='10'%20x2='10.4939'%20y2='10'%20gradientUnits='userSpaceOnUse'%3e%3cstop%20stop-color='%234E10FF'/%3e%3cstop%20offset='1'%20stop-color='%23AB17DF'/%3e%3c/linearGradient%3e%3c/defs%3e%3c/svg%3e)
Starting a game in Roblox Fisch can feel confusing at first due to the number of systems available: fishing, rod progression, island exploration, and money management. However, once the basic loop of casting, catching, and upgrading is understood, progression becomes much clearer. This guide explains step by step the main mechanics to advance in an organized way from the very first minutes of gameplay.
How to fish in Roblox Fisch
Fishing in Fisch is based on a two-phase system:
-
Casting
The player must equip the rod, hold down the left mouse button, and release it to cast into the water. The power meter only affects distance, so mastering it is not necessary at the beginning. -
Catching
After casting, “shake” prompts appear on the screen. It is important to press them correctly, as missing one forces you to restart the attempt. Then the main minigame begins: a white bar that must stay aligned with the moving fish. Each species has a different resistance level, making rare fish harder to catch.
Tip: it is best to practice near the Moosewood dock. Common fish have low resistance and allow you to learn the mechanic without penalties.
Where to sell your first fish
Each island has a Merchant NPC who buys fish from your inventory. In Moosewood, this NPC is located near the center of the town. The player can sell the entire inventory at once or sell fish individually.
An important detail is that the bulk selling system does not include Legendary or Mythic fish by default. This setting can be changed in the merchant menu, allowing you to protect valuable catches or sell them if quick money is needed.

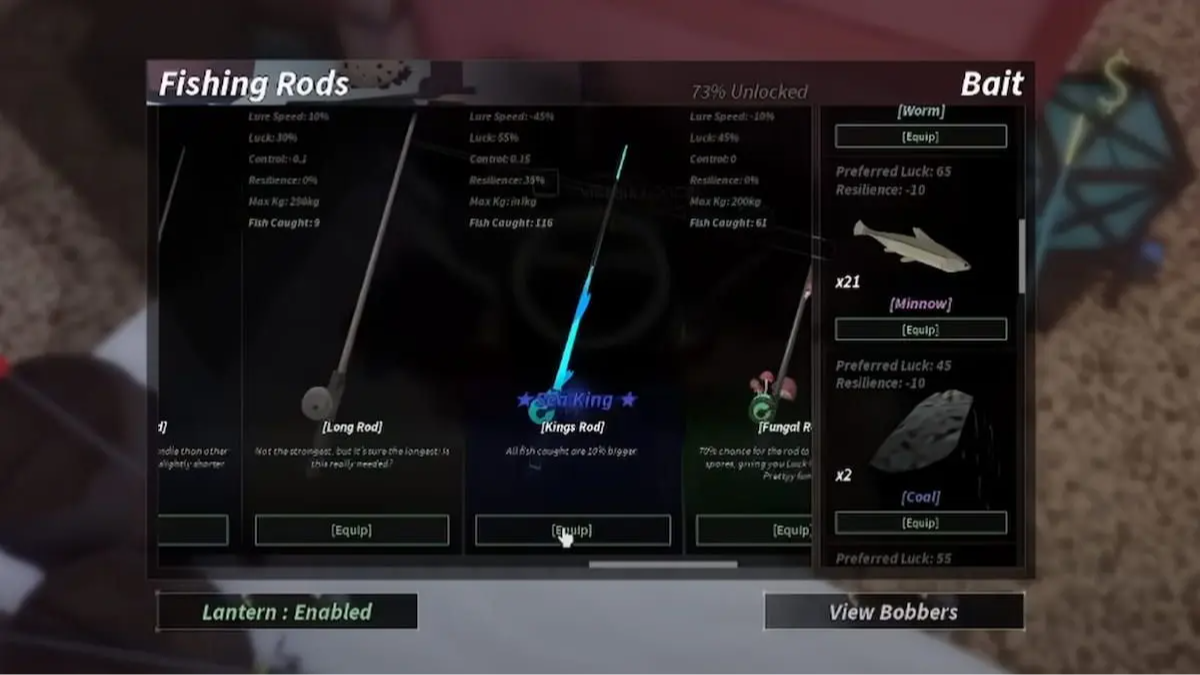
Rod progression: what to buy and when
The starting rod only works for learning. The recommended progression is as follows:
| Rod progression in Roblox Fisch | |||||||||
|---|---|---|---|---|---|---|---|---|---|
| Rod | Cost | Lure Speed | Luck | Control | Recommendation | ||||
| Plastic Rod | $300 | 10% | 15% | Low | Do not buy | ||||
| Lucky Rod | $750 | — | 20% | Low | Do not buy | ||||
| Carbon Rod | $2,000 | 15% | 25% | Medium | First recommended upgrade | ||||
| Steady Rod | $7,000 | — | 35% | High | Mid-game | ||||
Saving directly for the Carbon Rod is the most efficient option. The luck increase directly improves catch value and speeds up economic progress.
Warning: the luck stat has a noticeable impact. A 25% difference can completely change the value of a fish caught in the same fishing spot.
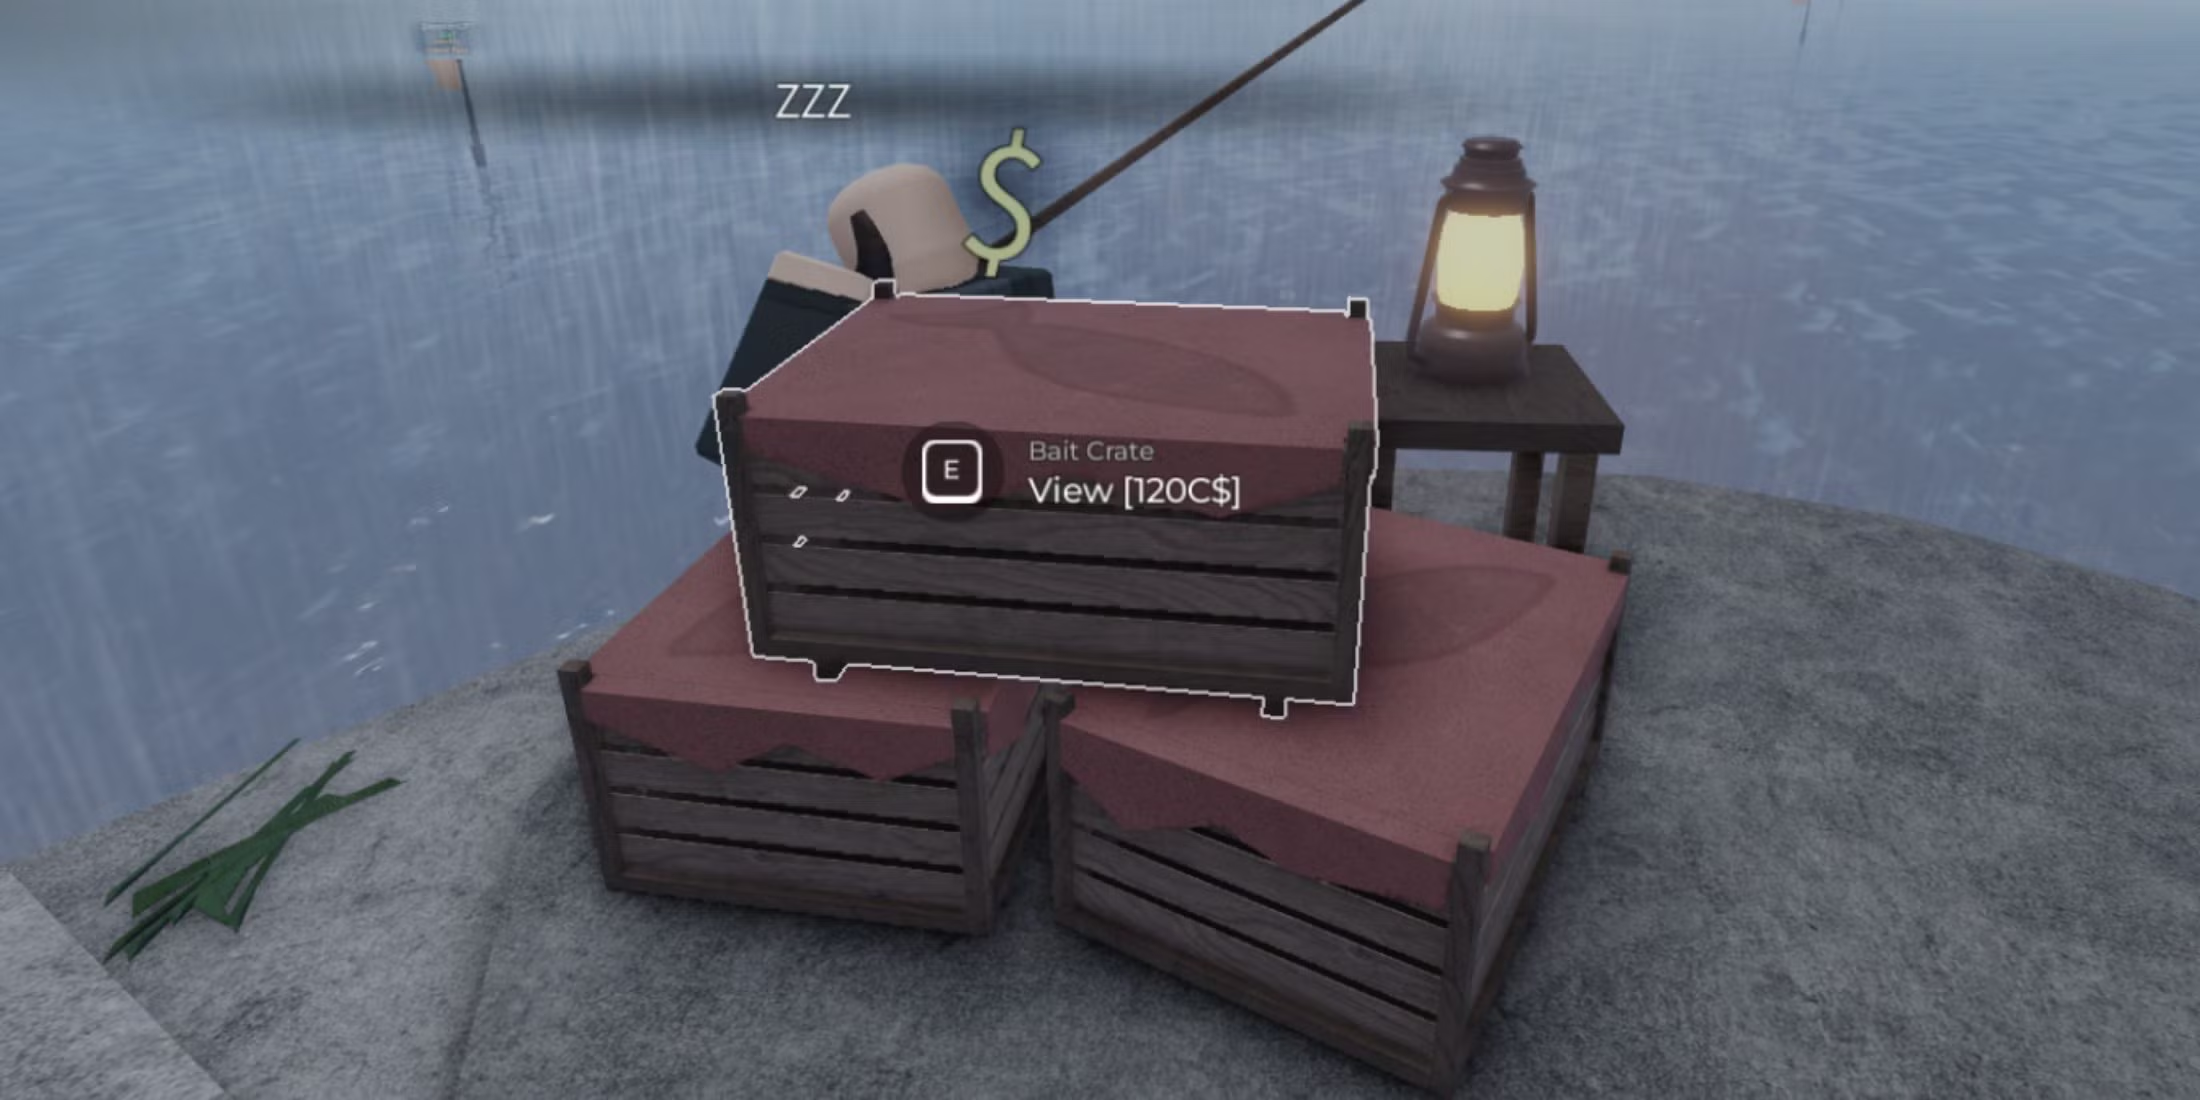
Using bait crates
Bait Crates are obtained from daily rewards, missions, or purchases. When opened, they provide different bait types with specific bonuses.
Main types:
- Minnows: high preferred luck, low resistance
- Shrimp: medium preferred luck, moderate resistance
- Worms: 50% universal luck
- Flakes: bonuses for specific fish
At the beginning, it is recommended to use bait with universal luck, as it does not require knowledge of the bestiary.
Crab traps and passive income
Crab Cages allow you to generate income while fishing or exploring. They are placed in shallow waters and collected after several minutes. They do not generate large amounts of money, but they provide steady passive income if placed in accessible areas like the Moosewood shore.
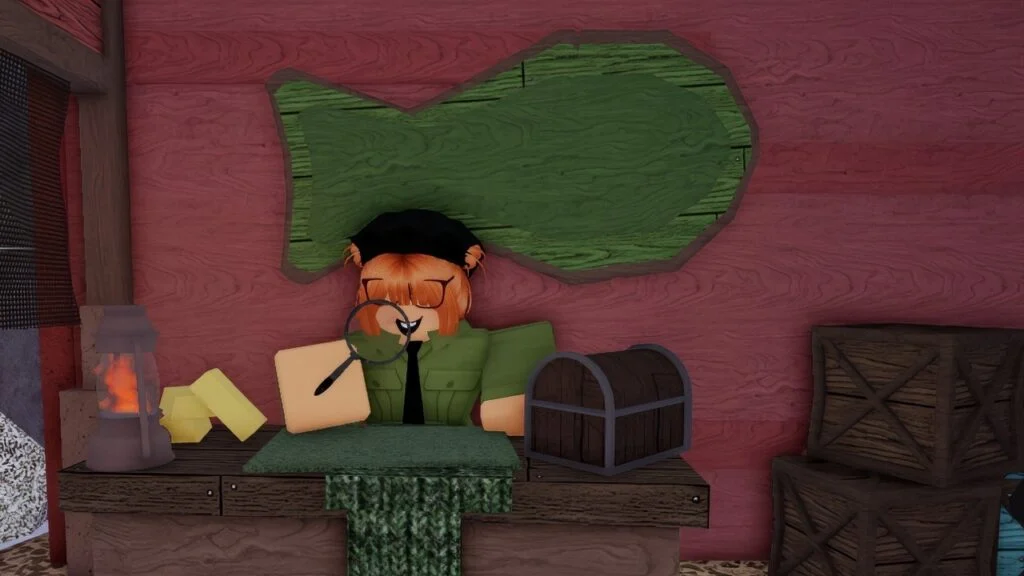
The role of the Fish Appraiser
The Fish Appraiser randomly modifies a fish’s weight in exchange for a fee. This can increase or decrease its final value.
The recommendation is clear:
- Only appraise fish you plan to sell.
- Avoid using this mechanic on rare catches intended for the bestiary.
The real benefit appears with expensive fish, where small weight changes result in noticeable gains.
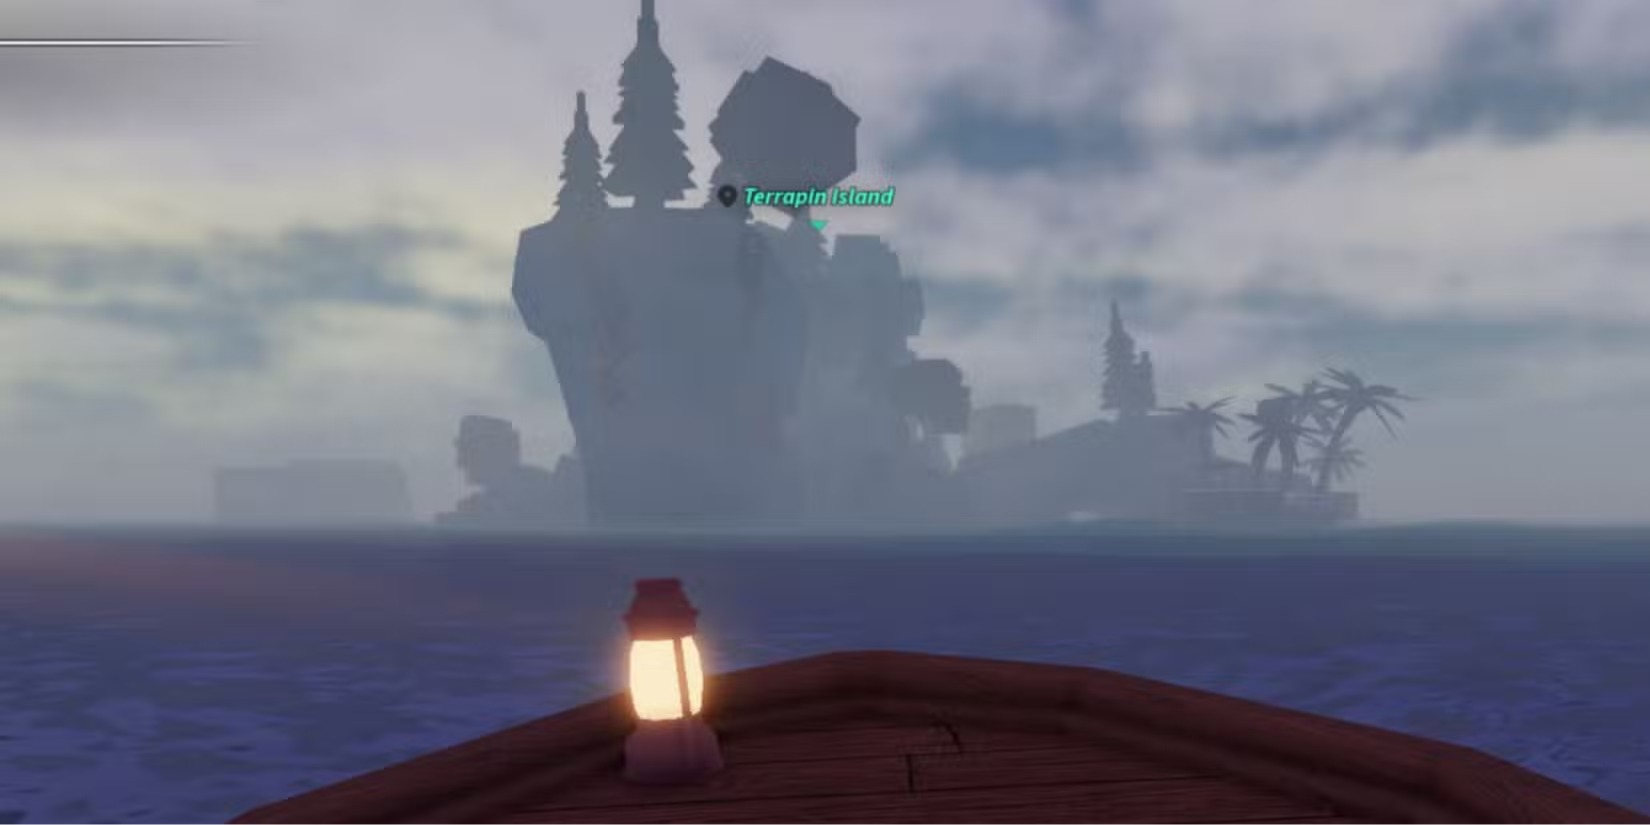
Traveling between islands
The Rowboat, available for $700 from the Moosewood Shipwright, is the first recommended boat. Although slow, it allows access to key areas.
Important early islands:
- Roslit Bay (West): greater fish variety and rare spawns
- Forsaken Shores (Southwest): mid-level fishing and missions
- Snowcap Island (East): mythic fish, requires better equipment
It is important to remember that each boat spawn has a cost unless the corresponding pass is purchased.

The ideal first hour in Fisch
An efficient starting route:
- Claim the daily reward
- Fish in Moosewood until you have $700
- Buy the Rowboat
- Travel to Roslit Bay
- Save $2,000 for the Carbon Rod
- Return to Moosewood and buy it
- Fish until you reach $7,000
- Buy the Steady Rod
This process allows you to reach mid-game gear in just a few hours without unnecessary detours.
Common beginner mistakes to avoid
- Buying every rod in order
- Ignoring bait usage
- Selling legendary fish without checking their usefulness
- Fishing in random spots without knowing key locations
- Not marking valuable catches as favorites
Long-term progression in Roblox Fisch
Once the Steady Rod is obtained, the game opens up new possibilities: advanced rods, dangerous zones, events, and special spawn conditions. The basic mechanics remain the same, but the difficulty increases.
With a solid foundation, players can focus on completing the bestiary, optimizing fishing routes, and making better use of each cast.

5
0
NEWSLETTER
Subscribe!
And find out the latest news
Other news you might be interested in
Etiquetas


