
'/%3e%3cpath%20d='M4.94162%205.99547L4.02701%205.08086L3.63428%205.47359L4.94162%206.78093L7.63768%204.08487L7.24495%203.69214L4.94162%205.99547Z'%20fill='white'/%3e%3cdefs%3e%3clinearGradient%20id='paint0_linear_2302_10195'%20x1='0.5'%20y1='10'%20x2='10.4939'%20y2='10'%20gradientUnits='userSpaceOnUse'%3e%3cstop%20stop-color='%234E10FF'/%3e%3cstop%20offset='1'%20stop-color='%23AB17DF'/%3e%3c/linearGradient%3e%3c/defs%3e%3c/svg%3e)
Firstlight weapons sit at the top of theSlayers 2 endgame. None of them are handed over automatically. Each of the seven schematics requires a different approach: underwater navigation, a boss fight, a multi-step NPC chain, or a combination of all three. Two of them share the same underwater cave entrance, so a single run can yield multiple blueprints if planned correctly.
What the Firstlight Weapon Schematics Are inSlayers 2
There are seven Firstlight weapon schematics in total: Firstlight Spear, Firstlight Katana, Firstlight Insect Katana, Firstlight Sound Cleavers, Firstlight Tanto, Firstlight War Fans, and Firstlight Bladed Wagasa. All of them are Mythic-tier blueprints that unlock crafting recipes once collected. Each schematic only needs to be picked up once; afterward it permanently appears in the Schematics tab under Archives. The location of the Firstlight Bladed Wagasa schematic has not been confirmed yet, so this guide covers the six currently known locations in full detail.
How to Get the Firstlight Spear and Katana Schematics
Both of these schematics are inside the same underwater cave in Iceveil Valley, so it is best to run both routes back to back rather than making two separate trips.
Finding the Cave Entrance
Head to the cliff edge in Iceveil Valley, past Iceveil Settlement and up the village ramps toward the outer ridge. Look for a small corner on a snowy ledge near the cliff face, then drop straight down into the deep water below. Dive through the blue opening at the bottom and swim into the submerged tunnel until you reach the underground cavern checkpoint. This stone walkway is the shared starting point for both weapon routes.
It is recommended to set the spawn point to Iceveil Settlement before making this run. The confirmation message reads “Spawn was successfully set to Iceveil Settlement”.
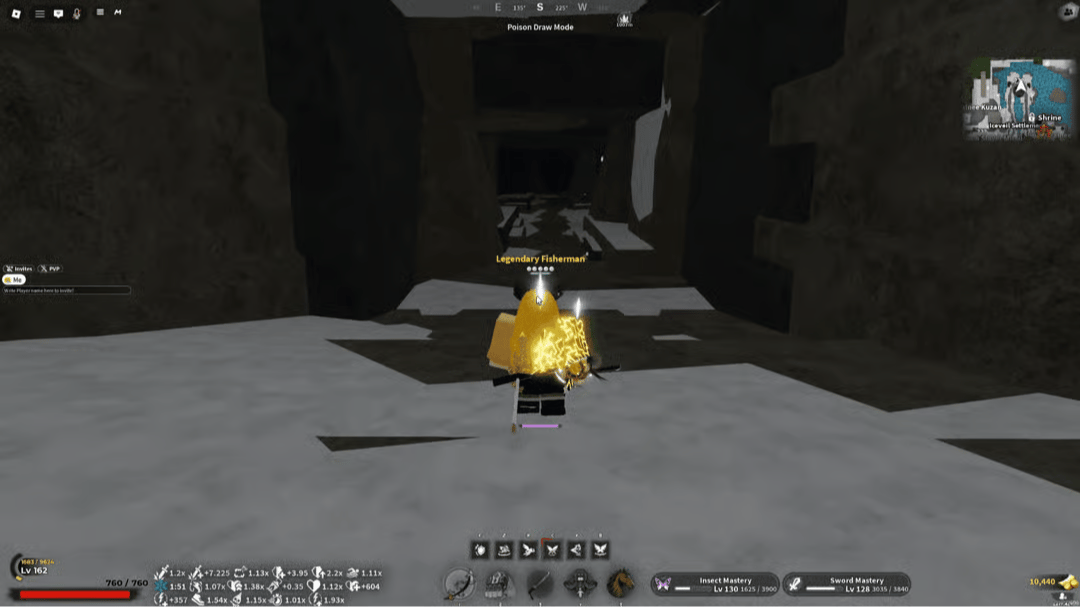 Firstlight Spear Route
From the cavern entrance, run forward along the narrow snowy corridor. The path winds over stone bridges and along ice walls. When you reach a corner bordered by crystals, turn right into the alcove. The Firstlight Spear Schematic sits on a stone pedestal at the end of that passage. Interact with it to collect the blueprint.
Firstlight Katana Route
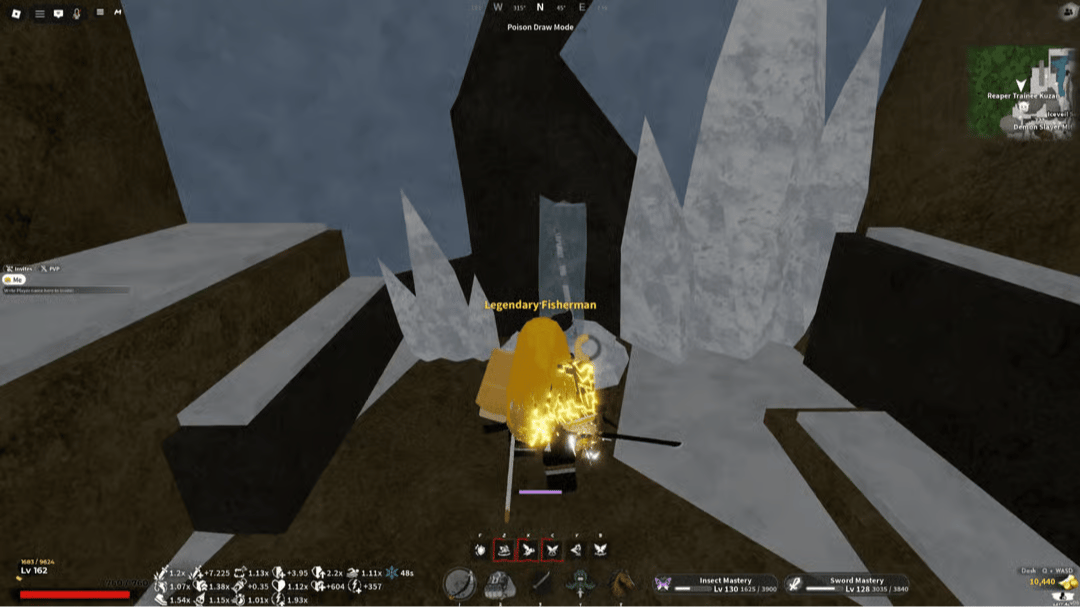
Return to the same entrance checkpoint. This time take the right-hand route and use dashes to cross the upper snow-covered walkways. The path curves into a rock crevice with a glowing altar in an ice-lined alcove. Interact with the altar labeled Firstlight Katana to receive the schematic.
Firstlight Spear Route
From the cavern entrance, run forward along the narrow snowy corridor. The path winds over stone bridges and along ice walls. When you reach a corner bordered by crystals, turn right into the alcove. The Firstlight Spear Schematic sits on a stone pedestal at the end of that passage. Interact with it to collect the blueprint.
Firstlight Katana Route
Return to the same entrance checkpoint. This time take the right-hand route and use dashes to cross the upper snow-covered walkways. The path curves into a rock crevice with a glowing altar in an ice-lined alcove. Interact with the altar labeled Firstlight Katana to receive the schematic.
Your OLA account is worth prizes
Play the Claw, hunt the treasure and redeem in the Store. Creating an account is free.
Create my accountHow to Get the Firstlight Insect Katana Schematic
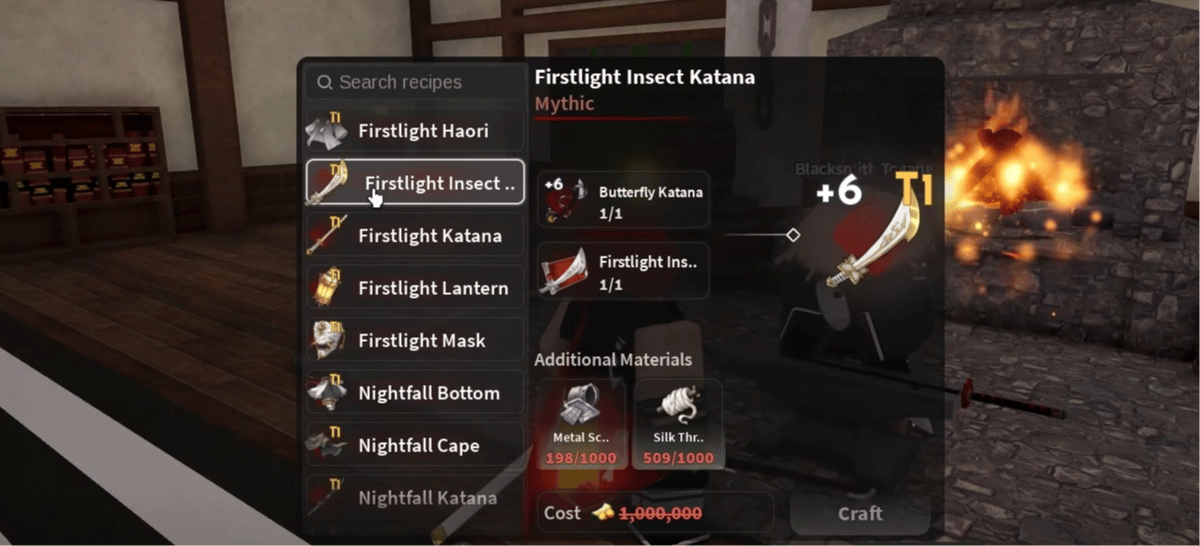
This one is in Mistfall Harbor, not Iceveil Valley. Travel to the specific point on the Mistfall Harbor map where a giant tree log sits near the water. Walk up onto the log and dive into the water below. At the bottom, find the hole and fall through it. Follow the path on the other side to reach the Firstlight Insect Katana Schematic.
How to Get the Firstlight Sound Cleavers Schematic
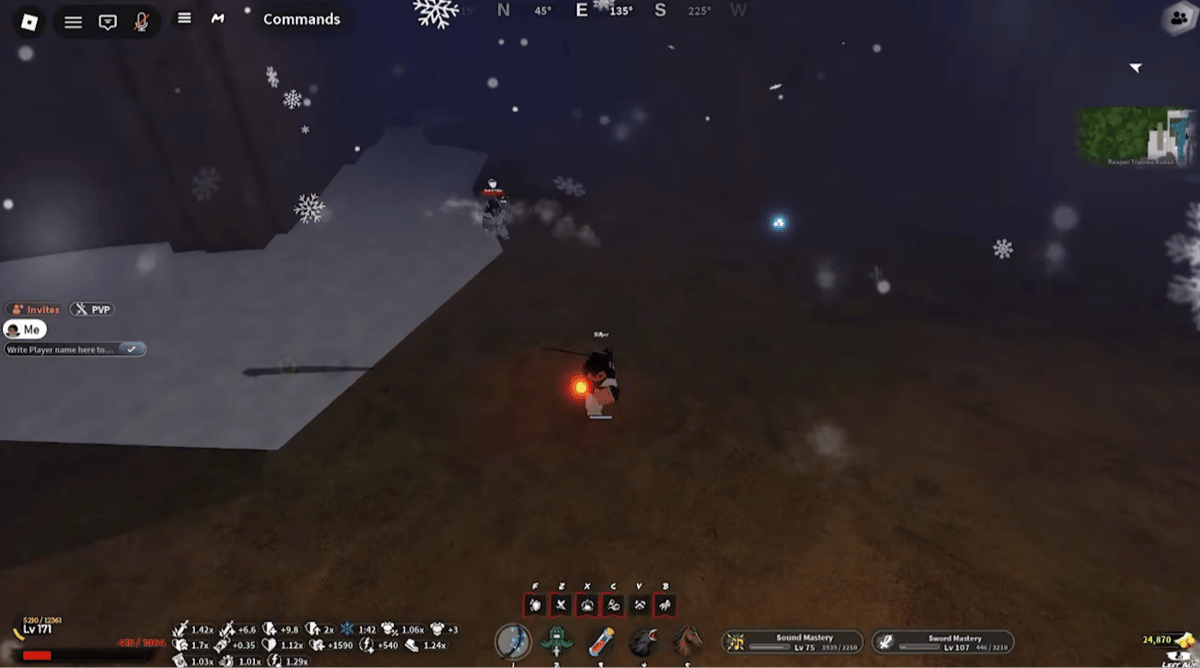
This schematic requires defeating Duelist Hibiki, an NPC found deep inside the cave in Iceveil Valley where the Reaper Trainer Kuzan mini-boss spawns. Getting to Hibiki involves a specific route through the cave and a parkour obstacle course:
- Go behind the mini-boss spawn and follow the path on the left side.
- At the fork, take the left path.
- Take the first left, then go right.
- Go left again. A parkour obby appears on your right.
- Complete the obby carefully. Falling onto the spikes kills you and sends you back to your spawn point.
- After clearing the obby, go right, then take the next left, then right again.
- Continue straight to find Duelist Hibiki.
A short dialogue triggers when you reach him. Defeat him in combat and he hands over the Firstlight Sound Cleavers Schematic.
How to Get the Firstlight Tanto Schematic
Requirements: A Shovel in your inventory. The Lantern must be unequipped before speaking to the key NPC.
This schematic is tied to the Old Trapper Retsu questline. Find him sitting at the base of a Torii gate near the main entrance of Iceveil Valley. Talk to him and select the “Lantern on your Belt” dialogue option. Pay him 2,500 Wen to receive directions.
Next, head into the Iceveil Valley cave where the Reaper Trainer Kuzan mini-boss is located. Blue mushrooms are scattered across the ground. Step on them until the Mushroom Lit Lantern appears nearby. Equip it, then exit the cave briefly and rest at a campfire to restore health.
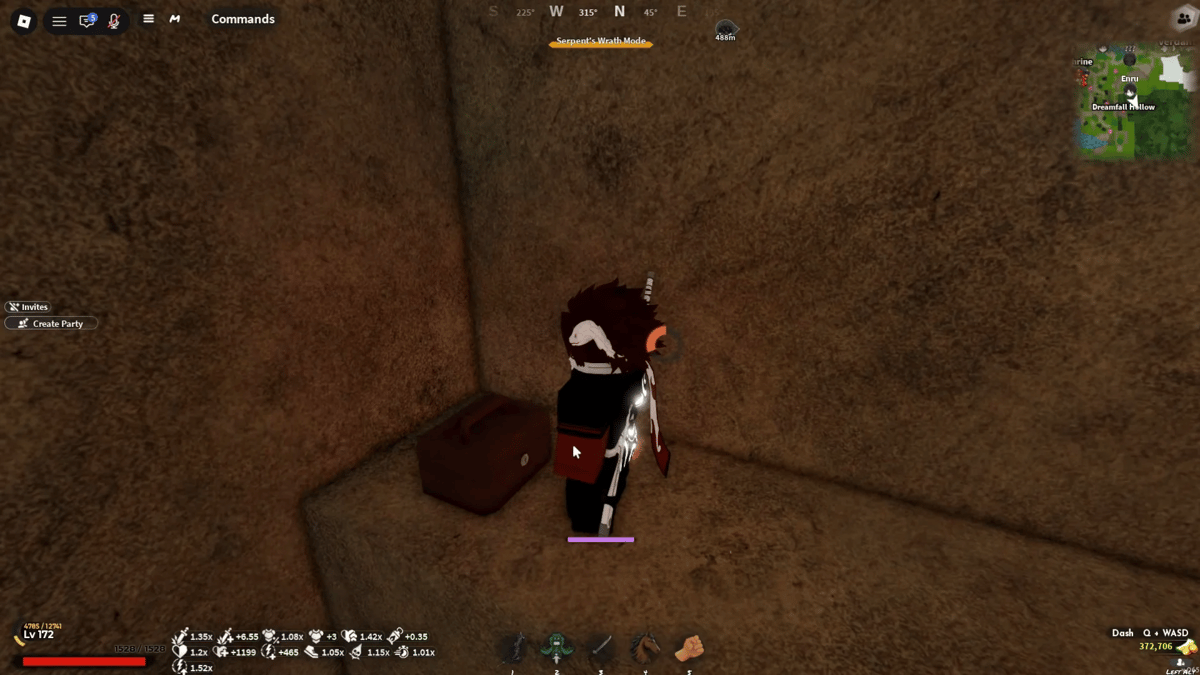
Return to the cave with the Mushroom Lit Lantern equipped. Blue footprints now appear on the ground. Follow them to a pile of snow. Use your Shovel to dig through it, revealing a treasure chest. Open the chest to collect the Firstlight Tanto Schematic along with additional loot.
How to Get the Firstlight War Fans Schematic
Requirement: Level 100 or higher. This is the longest questline in the set and spans three different areas. Complete each step in order.
| Step | Task | Location |
|---|---|---|
| 1 | Collect 9 Cooked Meats from Bear Cubs and Bear Mama | Bamboo Grove / Windy Peak |
| 2 | Purchase 25x Health Elixir (50 Demon Horns + 8,750 Wen) | Mistfall Harbor docks |
| 3 | Deliver Cooked Meat and Health Elixirs to the cart behind Iceveil Guard Shiro | Iceveil Settlement |
| 4 | Buy the Shovel from Winter Store Rep Lynx (1,000 Wen) | Iceveil Settlement shop |
| 5 | Complete at least one quest from Shiori | Butterfly Estate |
| 6 | Complete all quests from Dockmaster Sofen | Mistfall Harbor docks |
| 7 | Talk to Old Trapper Retsu, select Lantern dialogue, continue past the payment | Iceveil Valley entrance |
| 8 | Return to Winter Store Rep Lynx for the final story segment and location hint | Iceveil Settlement shop |
| 9 | Dig the snow pile near the houses at the top of Iceveil Settlement | Iceveil Settlement |
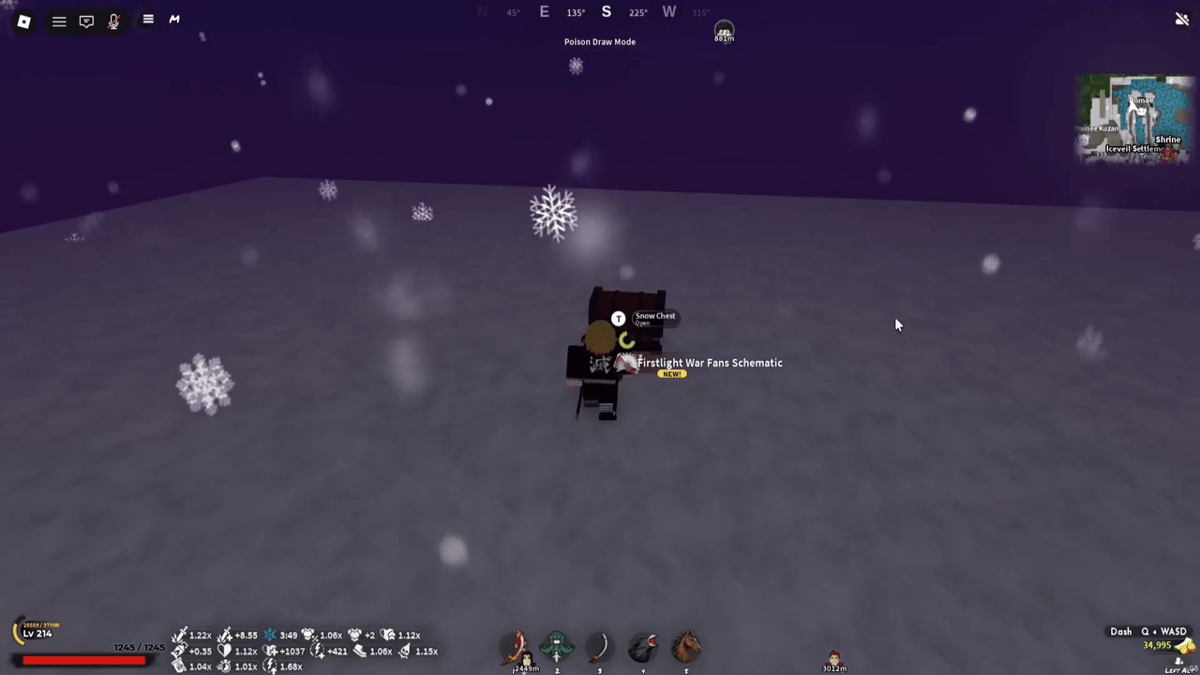
After completing all eight preceding steps, travel to the top of the Iceveil Settlement map. Near the houses, a prominent snow pile sits in the open. Use the Shovel to dig through it and collect the Firstlight War Fans Schematic.
 The Iceveil Settlement area only opens after completing Step 3 and supplying the settlement through Iceveil Guard Shiro. The shop and the final dig location cannot be accessed before that.
For players working through the fullSlayers 2 endgame collection, the Nightfall weapon schematics guide covers the parallel set of seven Nightfall blueprints, including several that share the same cave system as the Firstlight weapons. The katana guide is also useful if stats and boss drop info for every blade in the game are needed.
The Iceveil Settlement area only opens after completing Step 3 and supplying the settlement through Iceveil Guard Shiro. The shop and the final dig location cannot be accessed before that.
For players working through the fullSlayers 2 endgame collection, the Nightfall weapon schematics guide covers the parallel set of seven Nightfall blueprints, including several that share the same cave system as the Firstlight weapons. The katana guide is also useful if stats and boss drop info for every blade in the game are needed.
0
0
Other news you might be interested in
Etiquetas


