How to complete the TAU Research Center 100% in Metroid Prime 4: Beyond.

'/%3e%3cpath%20d='M4.94162%205.99547L4.02701%205.08086L3.63428%205.47359L4.94162%206.78093L7.63768%204.08487L7.24495%203.69214L4.94162%205.99547Z'%20fill='white'/%3e%3cdefs%3e%3clinearGradient%20id='paint0_linear_2302_10195'%20x1='0.5'%20y1='10'%20x2='10.4939'%20y2='10'%20gradientUnits='userSpaceOnUse'%3e%3cstop%20stop-color='%234E10FF'/%3e%3cstop%20offset='1'%20stop-color='%23AB17DF'/%3e%3c/linearGradient%3e%3c/defs%3e%3c/svg%3e)
The TAU Research Center is the first area in the story of Metroid Prime 4: Beyond. In this location, Samus responds to a distress call and enters a combat zone that works as an introduction to the game. This guide explains how to complete the entire area and collect every upgrade needed to achieve 100% completion.
1. Reach the Base
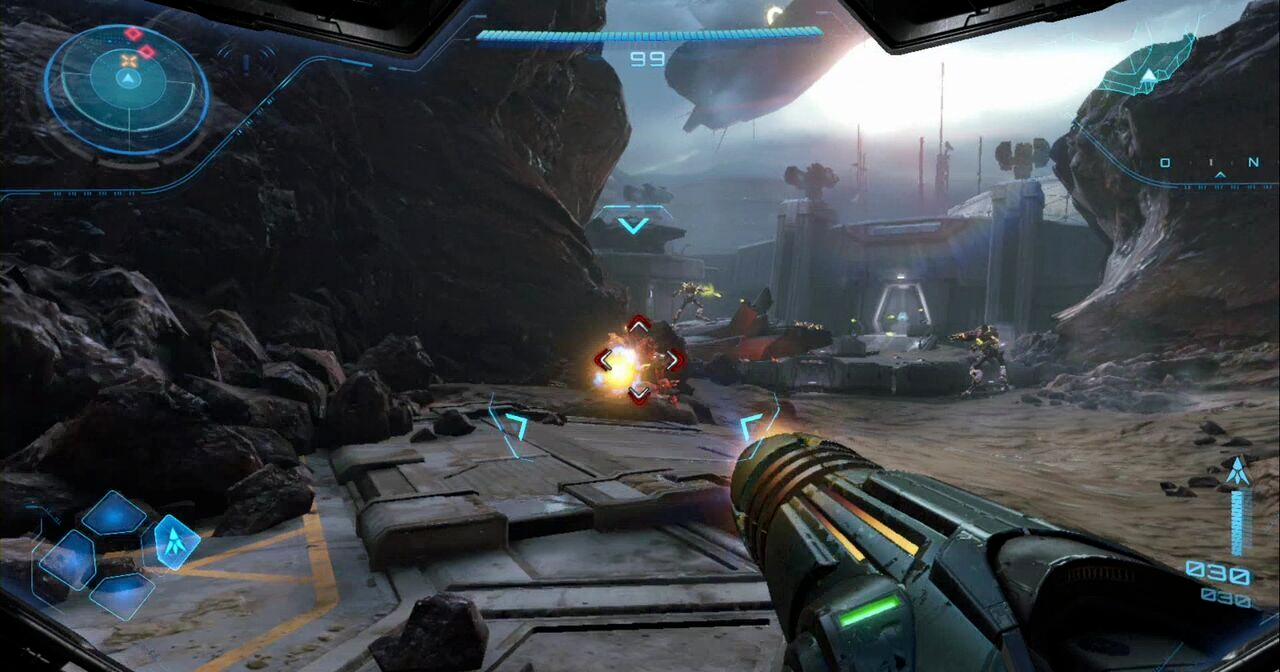
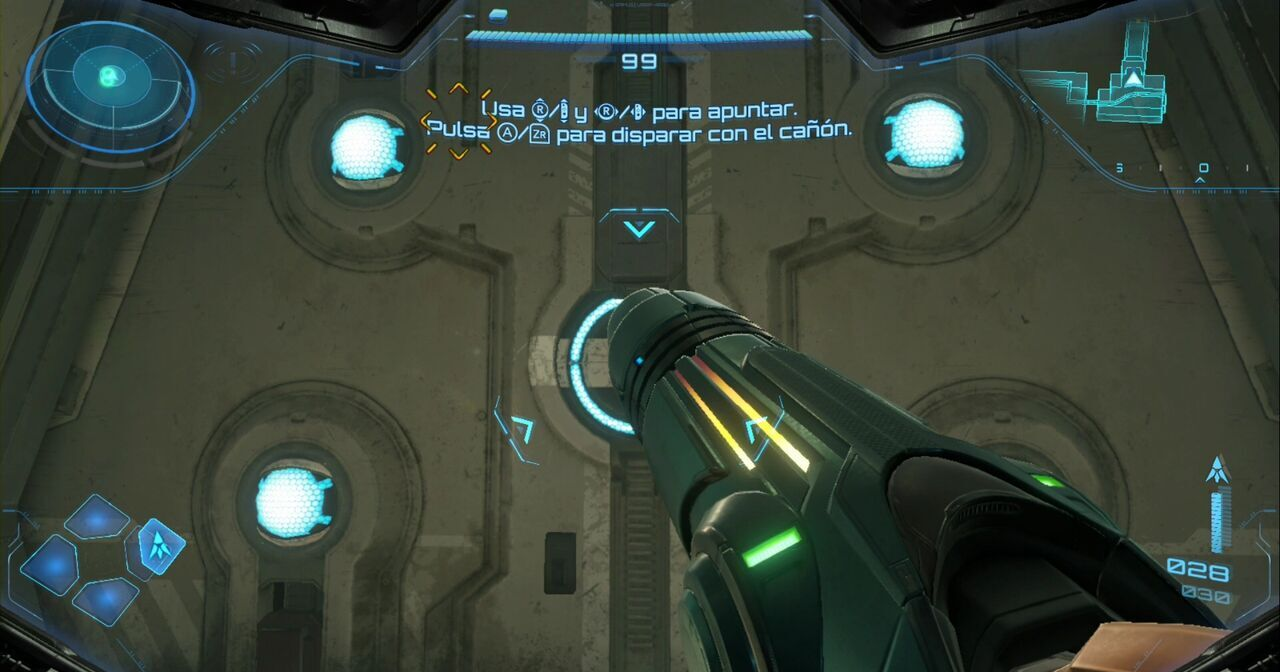
At the start of the mission, the game presents a basic tutorial for movement and combat. It explains how to shoot, lock targets, jump, and move through the environment. After a few steps, the first door appears, which opens by shooting it, a mechanism that will be common throughout the game.
After a short sequence, the path continues into the interior of the base.
2. Protect the Artifact
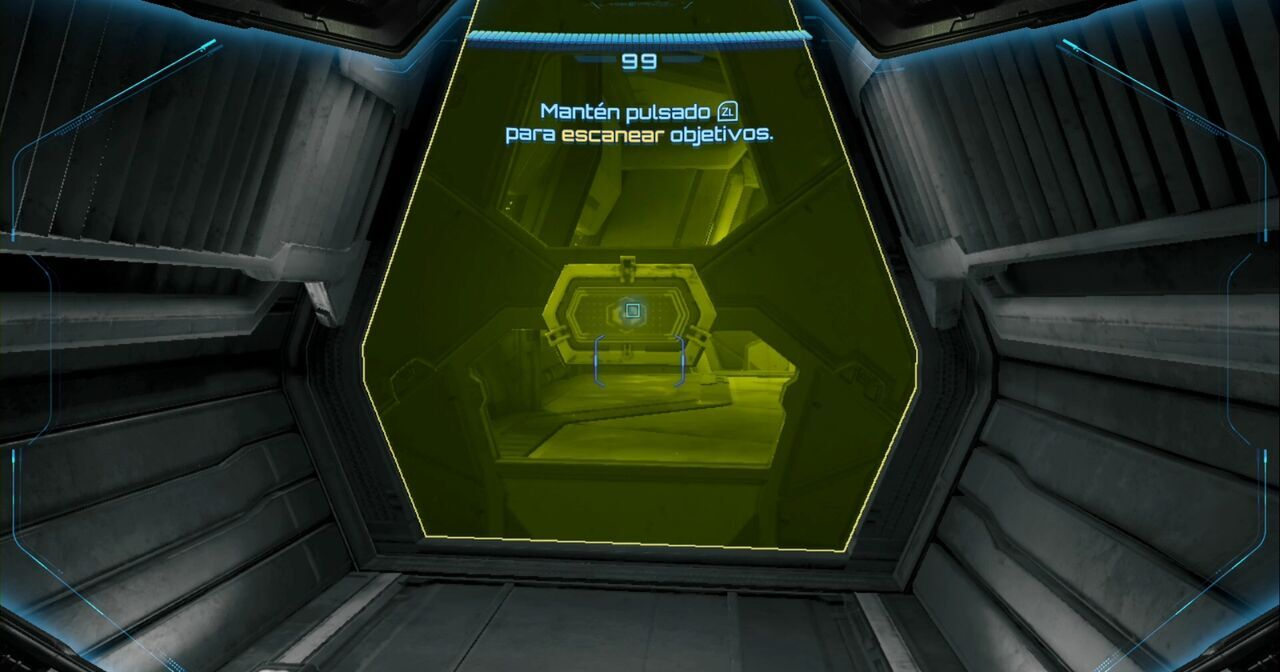
The objective marked on the map indicates that Samus must protect the artifact located in the Hangar. Before reaching it, a new tutorial appears explaining how to use the scan function. In this part, it is important to scan the door to open it and scan one of the soldiers in the room, since the Logbook will be essential for achieving 100%.
Moving through the next hallway, another enemy zone appears. Here, one of them must be scanned to obtain the Space Pirate entry.

Further ahead, the game introduces the Morph Ball mechanic, needed to pass through narrow spaces. In this section, it is necessary to roll through a gap behind the fire using this ability.
After clearing the courtyard, exit through the northeast door. The double jump allows reaching higher platforms, including the indicated exit.
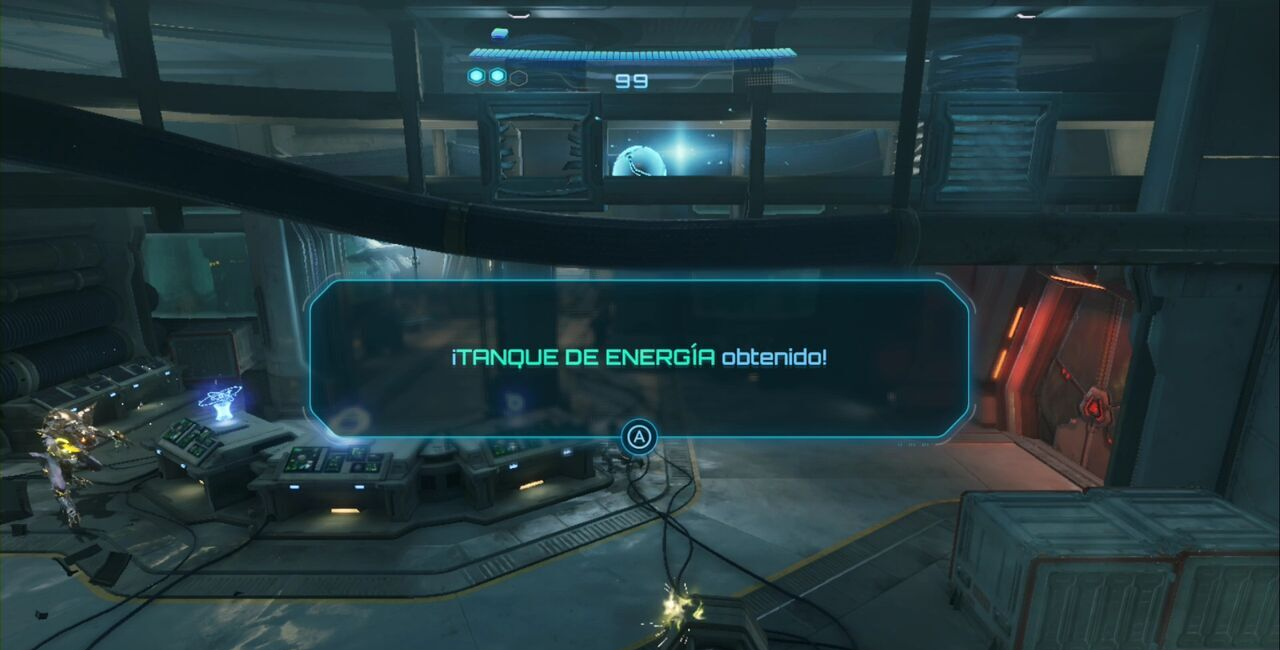
The path continues with another Morph Ball tutorial, this time to place bombs. Then, the first Energy Tank appears, increasing Samus’ maximum health.
The path leads to the control room, where several pirates are waiting. After defeating them, the door to the Hangar must be opened. To unlock it, lock onto the nodes and shoot them to break the seals.
3. Aberax
Before starting the fight, it is important to scan Aberax to register the corresponding Logbook entry.
Even though this is still the prologue, the fight requires paying attention to several patterns:
- The enemy’s weak points are on its shoulders.
- When it emits a shockwave across the ground, it is necessary to jump to avoid damage.
- Aberax can fire projectiles or cover its weak points with its arms, so it is best to keep moving and use the dash (double-tap while locking a target).
- If it begins charging energy, it will launch a green orb that can be destroyed to obtain health or missiles.
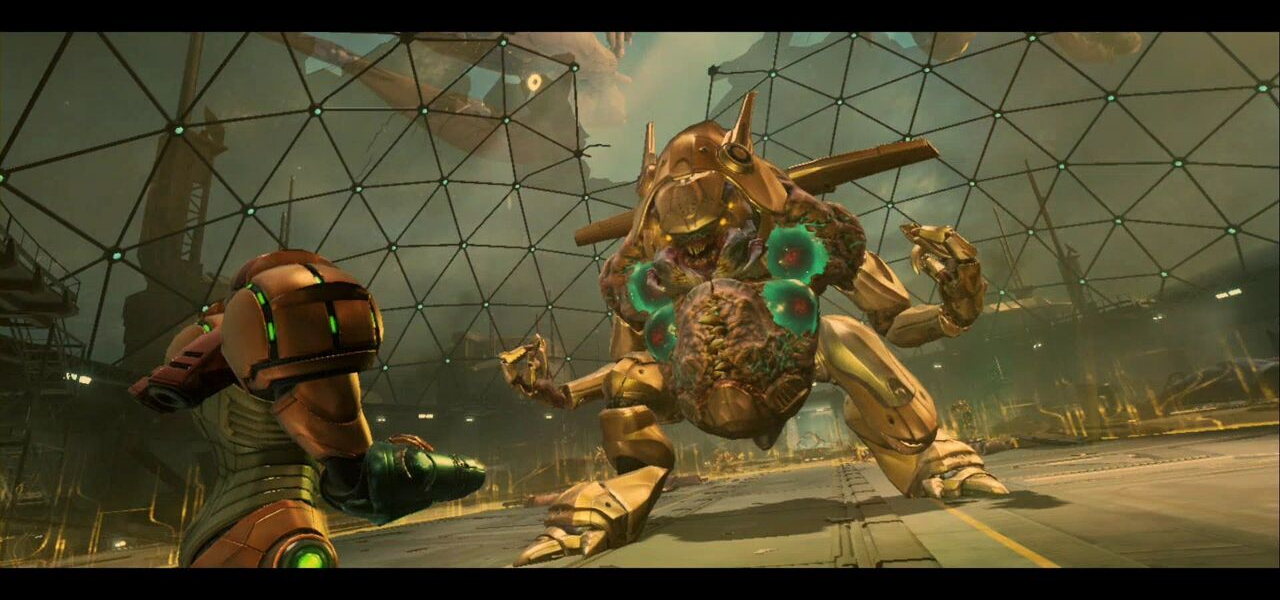
When the weak points break, the vulnerable spot on its abdomen appears. Damage must be focused there until it closes again.
In the second phase, Aberax releases a wider ring that must be avoided using the Morph Ball.
In the third phase, this ring appears more frequently. At this point, alternating between Morph Ball and firing is necessary to finish the fight.
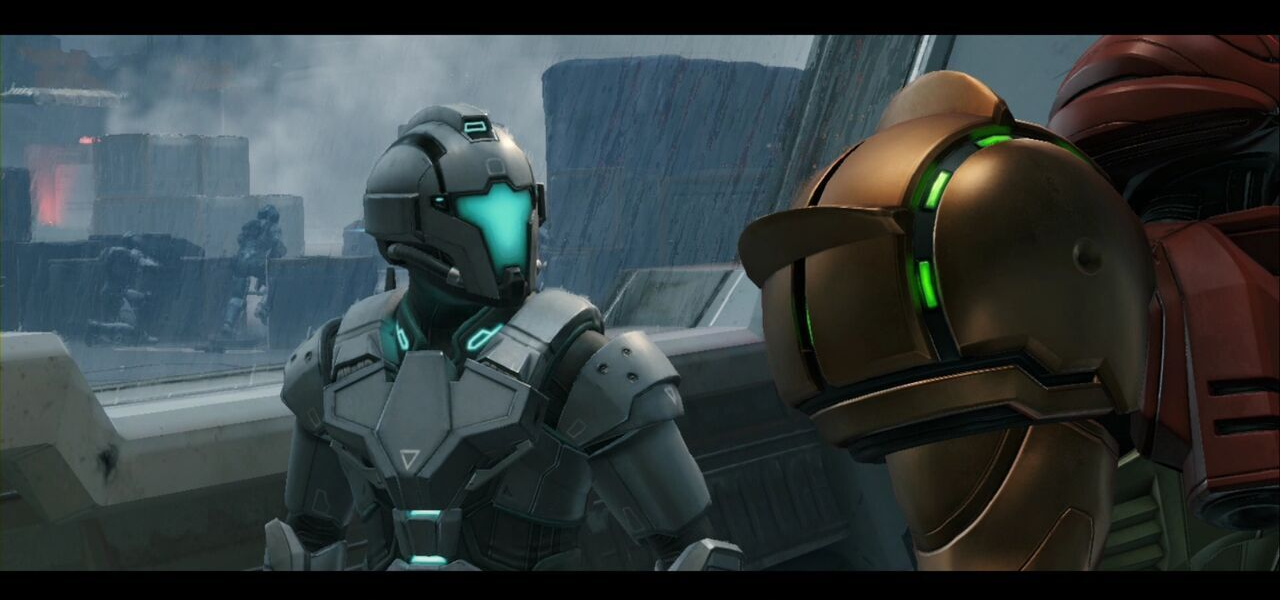
After the defeat, for reasons not explained at this moment in the story, the adventure continues in the Chronotower.

5
0
NEWSLETTER
Subscribe!
And find out the latest news
Other news you might be interested in
Etiquetas


